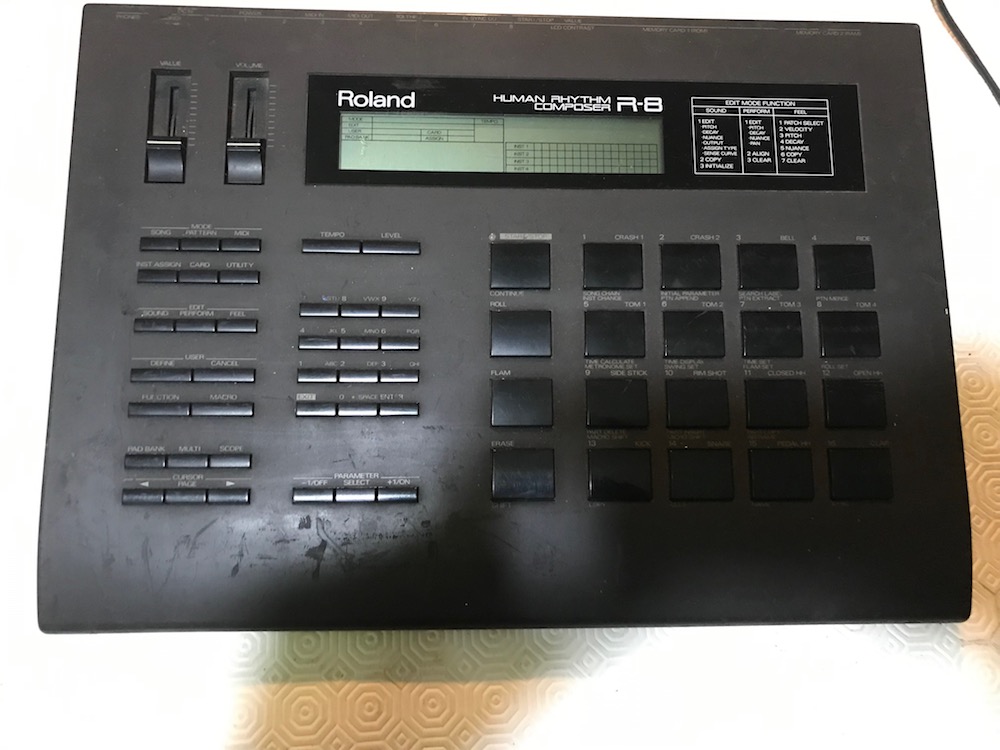
I recently found a second hand Roland R8 for cheap, in decent conditions but WITHOUT the Power Supply. I discovered only later that the Power Supply on this Roland Drum Machine (and on the Roland R5 too, apparently) is NOT a standard Power Supply like the one used on most electronic devices, but it uses a proprietary +10/-10 Volts PSU with an uncommon connector.
I Googled a bit and found some replacement PSUs, but they were about 70 euros each. This was exactly what I paid for the Roland R8 and I really didn't want to spend the same amount for JUST THE PSU!!!
So I Googled a bit more and found a very interesting solution on circuitbenders.co.uk (thanks) which described how to use a small converter board to replace the original PSU.
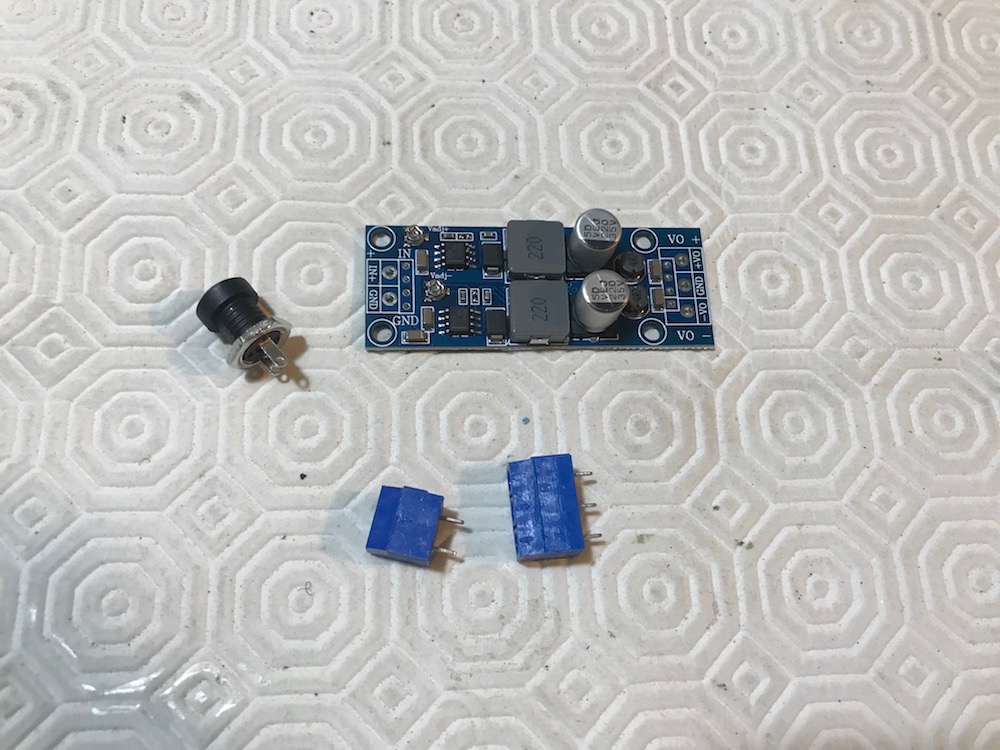
This is what you will need:
- a +10V and -10V voltage regulator, Search for "DC-DC BUCK STEP DOWN CONVERTER" or similar. I found mine on eBay but you can have a look on Amazon or Aliexpress.
- a standard "female" connector and of course a suitable PSU (any 12V should be OK, I used an old one I had lying around). The board should be quite tolerant to higher voltages, too
- some pieces of wire
- soldering iron, multimeter, drill...
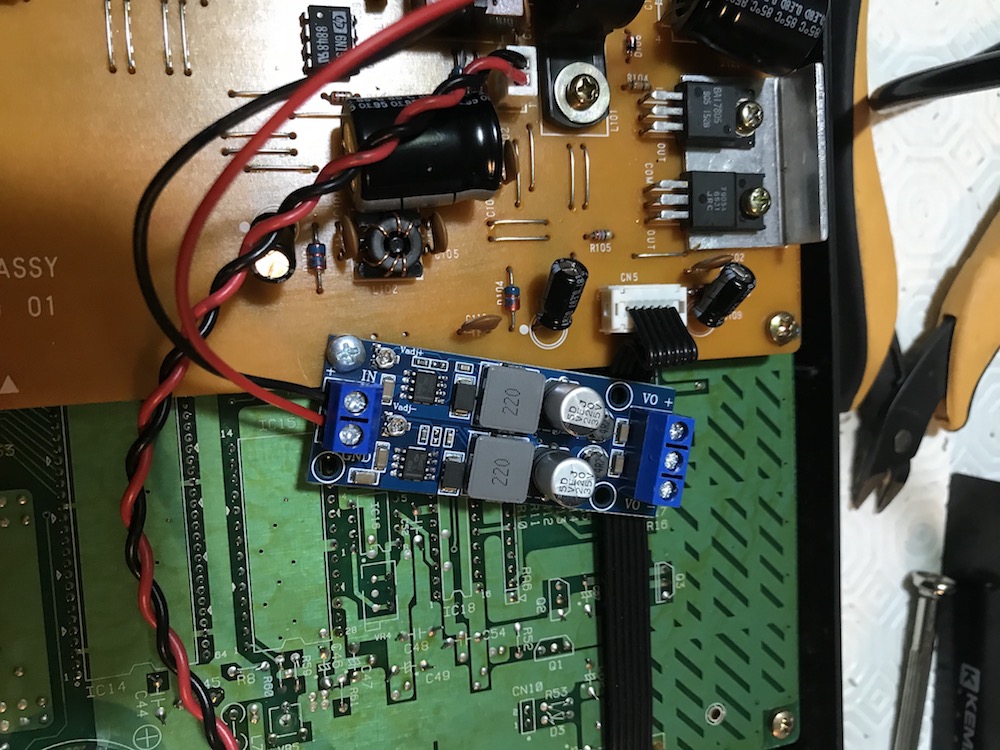
First, you need to find a suitable place where to stick the small board. Luckily, there's plenty of room in the inside. I decided to use a hole on the Main Jacks PCB and simply use a 3mm screw and a nut. You can stick it on the bottom using double sided tape, just avoid any contact between the bottom of the board and the metal plate.
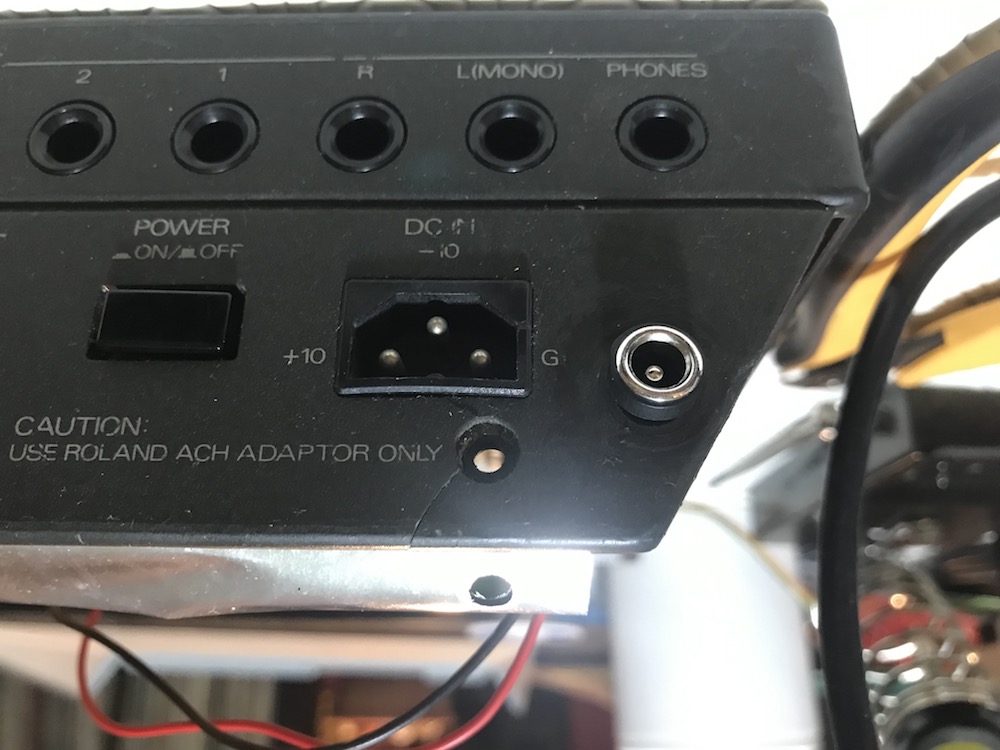
Secondly, you need to drill a hole for the new Power Supply Socket. In my case, I choose a "standard" round one and I only needed to drill a 8mm hole. I decided to drill the hole just beside the original PSU socket. This was maybe not the best idea, just because I also had to drill the metal plate behind the plastic and because there was not much room in the inside to operate and to screw it.
In the end it turned up pretty neat, also with the aid of some hot glue to help it stay in place...
Then you need to wire things up.
Connect two wires from the new socket (the +12V and GND) to the Vin and GND on the regulator board.
Using a multimeter, check the voltages coming out from the V+ and V- pins on the board. Try to get as close as possible to +10V and -10V, there are two small screws to adjust in order to get the correct voltages (but the R8 should work with just any value around 10...)
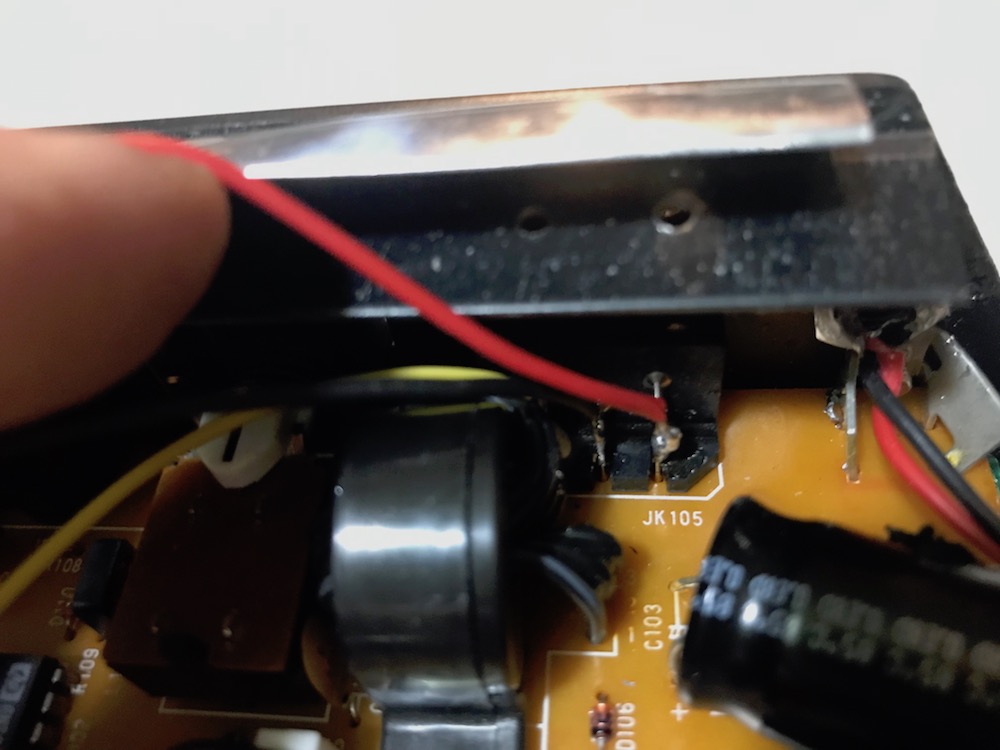
Then solder 3 wires from the V+, V- and GND from the board to the corresponding pins on the original Power socket.
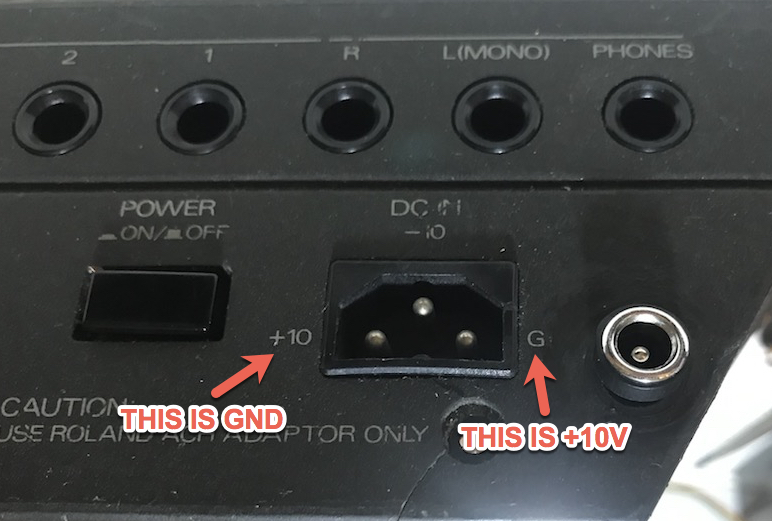
JUST BE VERY CAREFUL HERE! The pins on the socket have incorrect labeling. Roland swapped the +10V and the GND on the plastic enclosure of the R8 (apparently they corrected it on the MKII and R5). Just make sure to connect them correctly, and double check one more time!
The end result should be something similar to this:

And hopefully, after checking everything for a second (maybe third) time I connected the new 12V PSU and.....
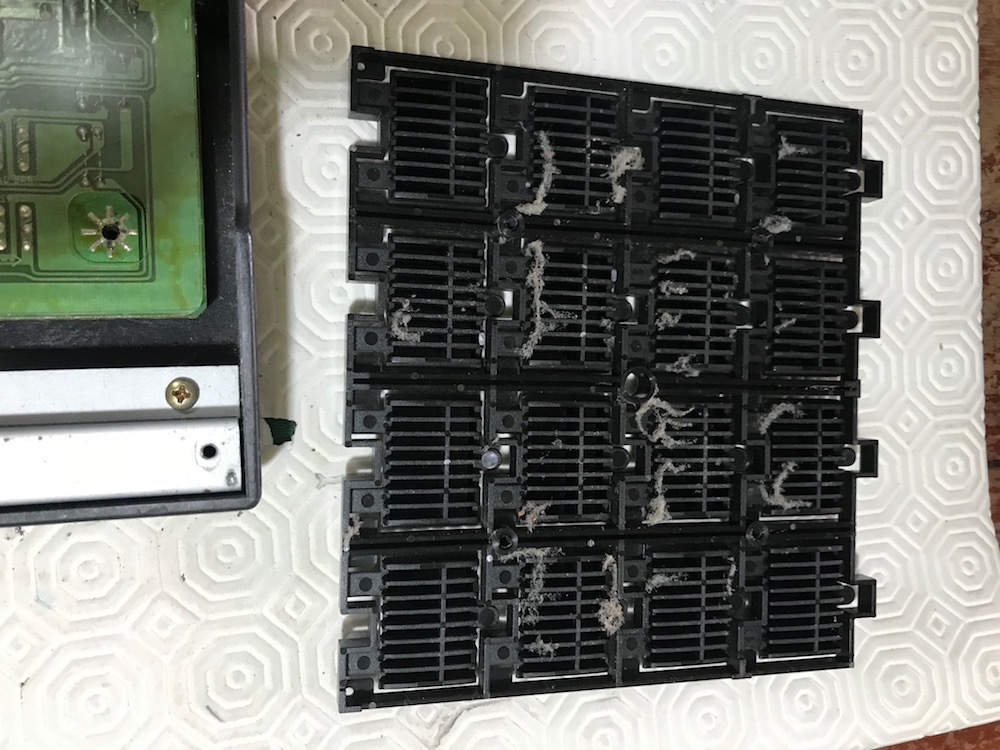
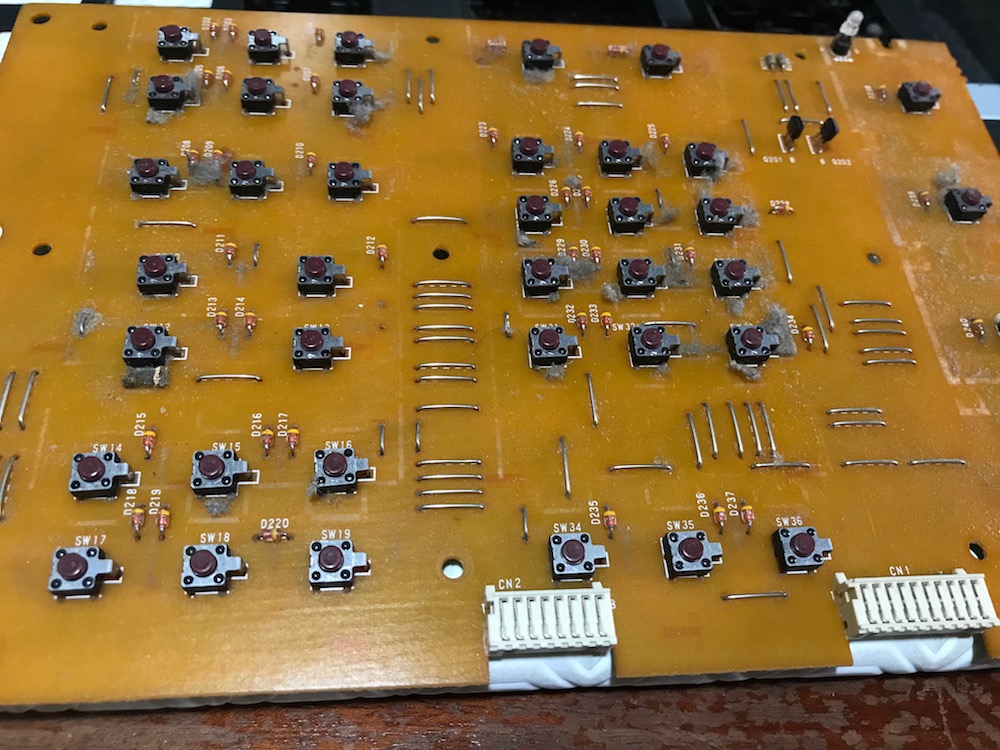
While I was inside, I decided to unscrew the "Pads" mounting plate and the "Buttons" PCB. Some of the buttons didn't seem to work and the pads where a bit hard to press. It was a nice idea, because it was all full of dust, debris and possibly spider nests...I removed everything with a brush, a small handheld vacuum cleaner and cleaned with some alcohol.
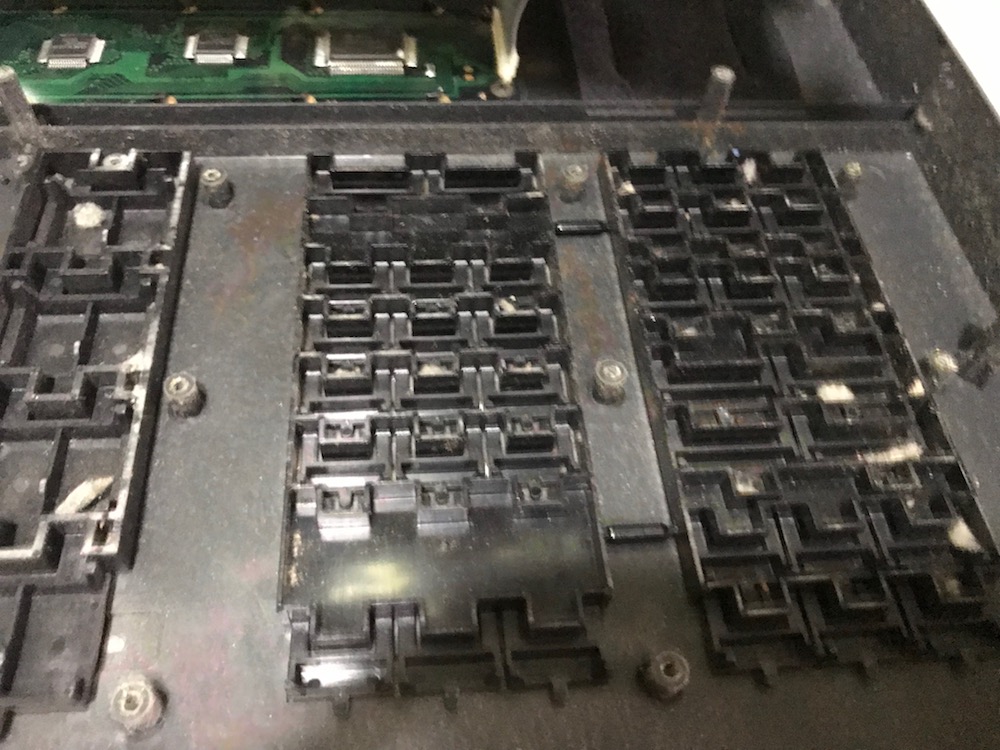
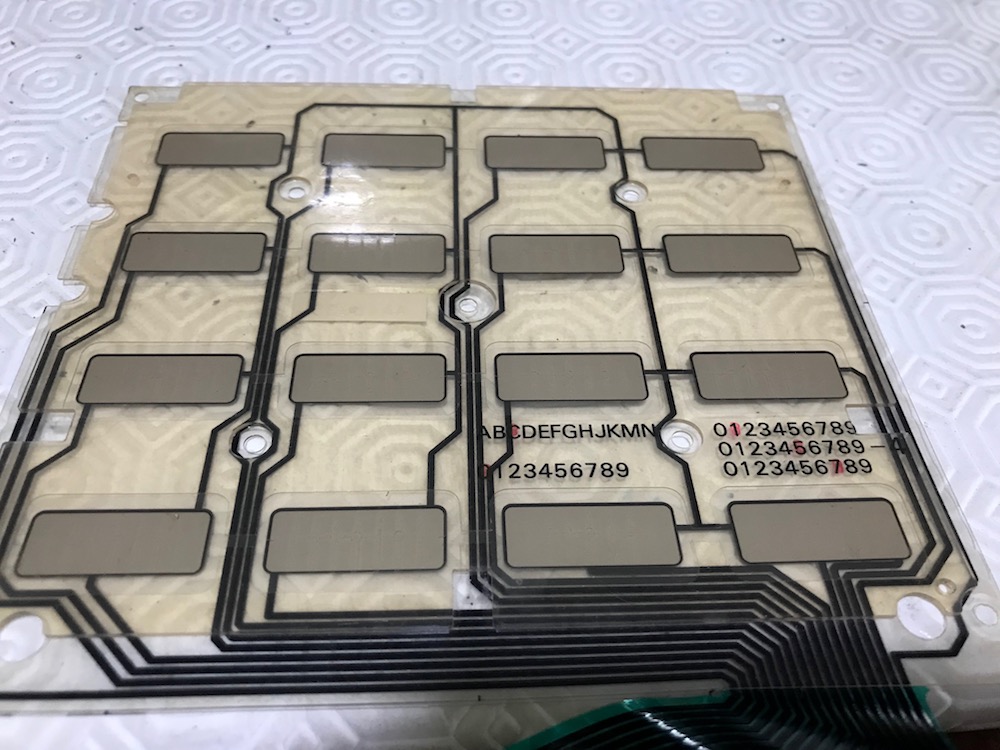
Everything was then clean as new and all the buttons returned to their normal operation.
Before: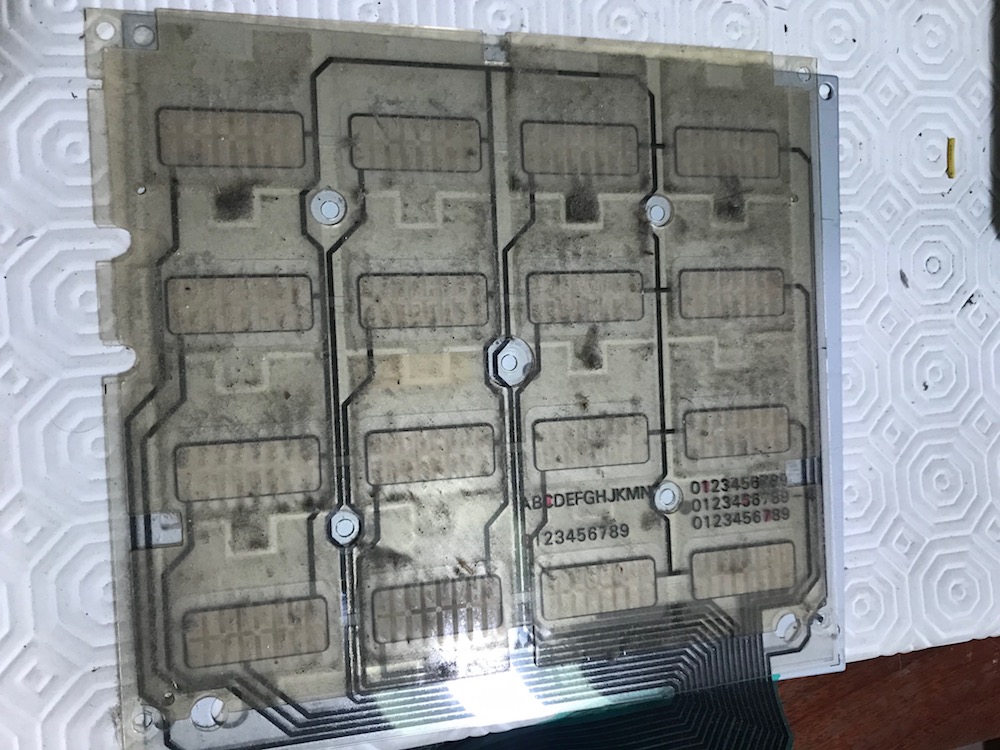
After:
This was all the shit inside this Roland R8 and all the dust and debris on pads, buttons and switches: