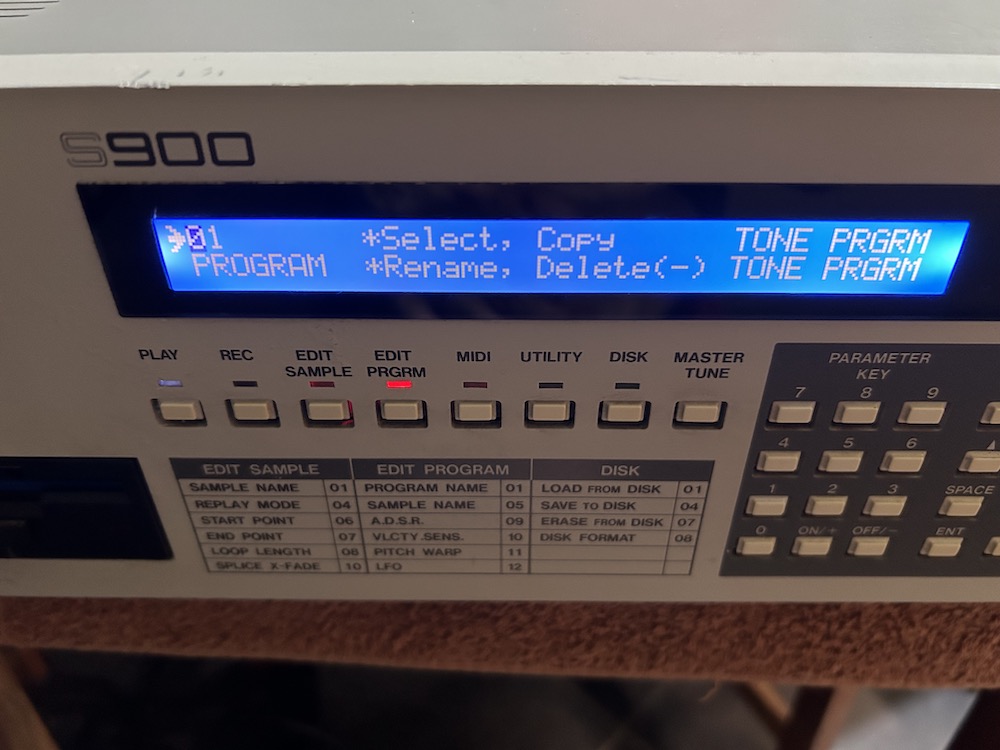
Replacing the old LCD screen on an AKAI S900 (or S950) is not really a difficult task. There are a few things to desolder, wires to cut, but nothing really major.
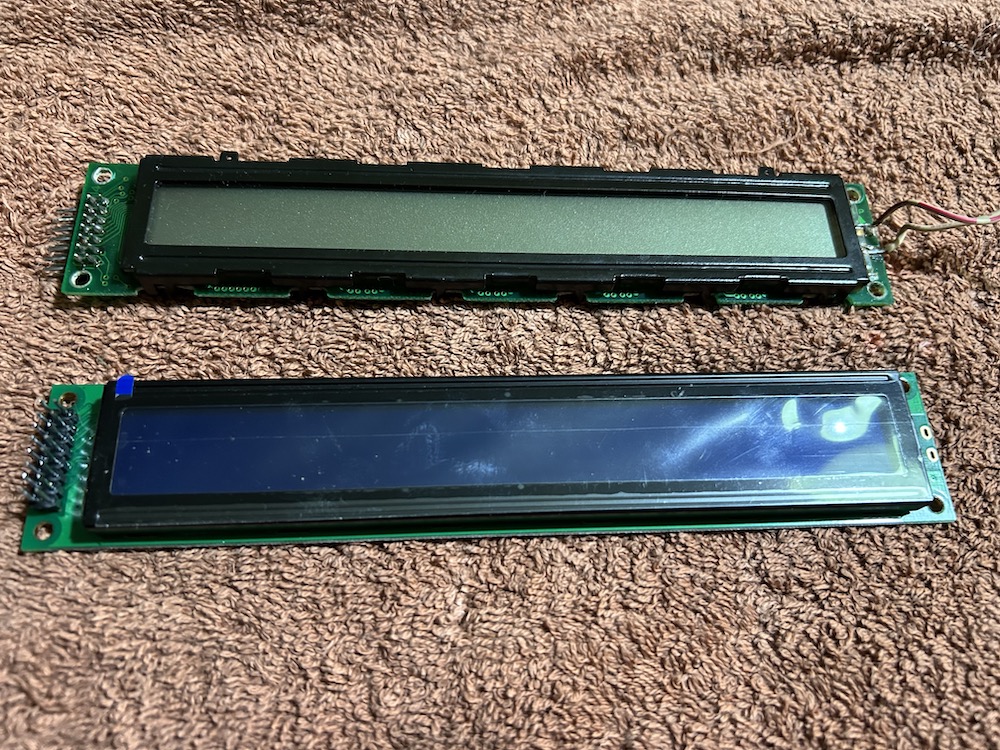
1) Let's start with the new screen. I choose a blue LCD Screen, any 40x2 LCD display should work. I found mine on Aliexpress for about 8 euros, ut you can find them on Amazon as well (at a higher cost, usually). The only difference between the original and the new LCD is that the black "bezel" is a little bit taller, and may not fit in your sampler (it did fit in mine, there's a little trick to be able to mount it)
2) Open the AKAI S900, unscrew the metal plate and unscrew the front panel (there are some screw on the top and on the bottom of the unit). There should be some washers under the top screws, just pay attention to them and don't lose them into the sampler. Unscrew the old LCD (only 4 screws) and disconnect the ribbon cable.
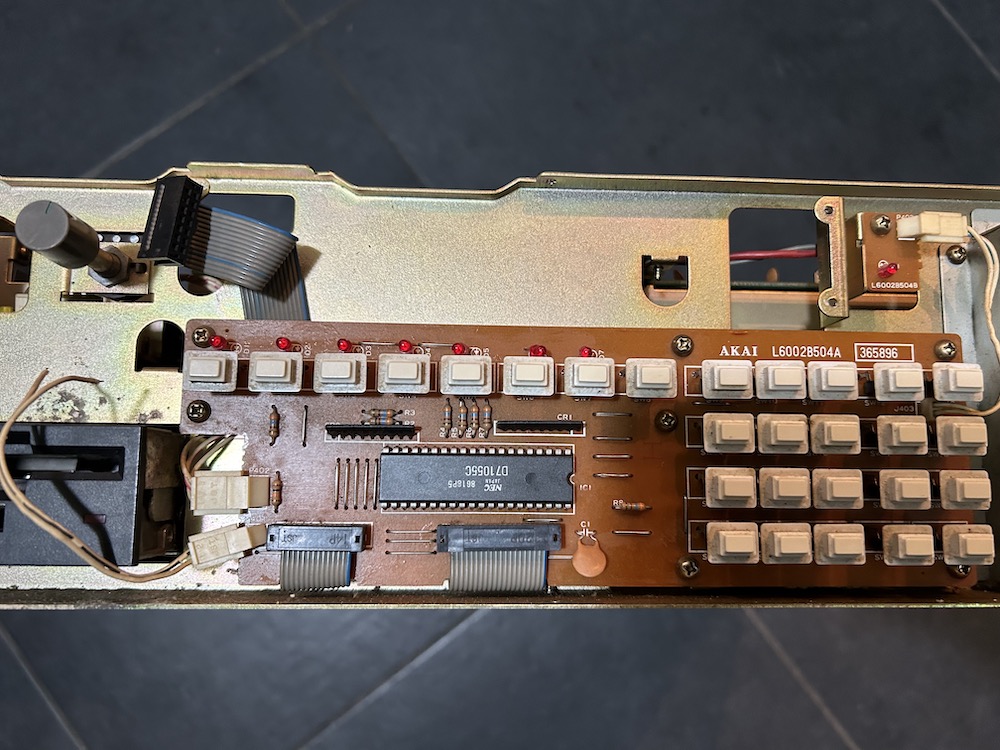
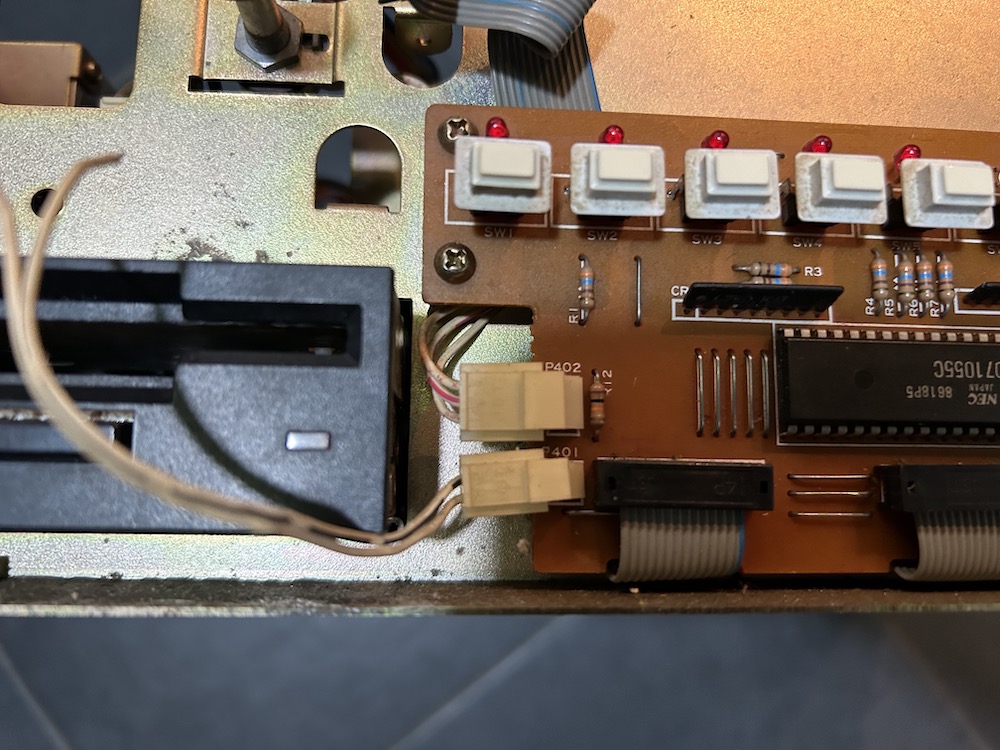
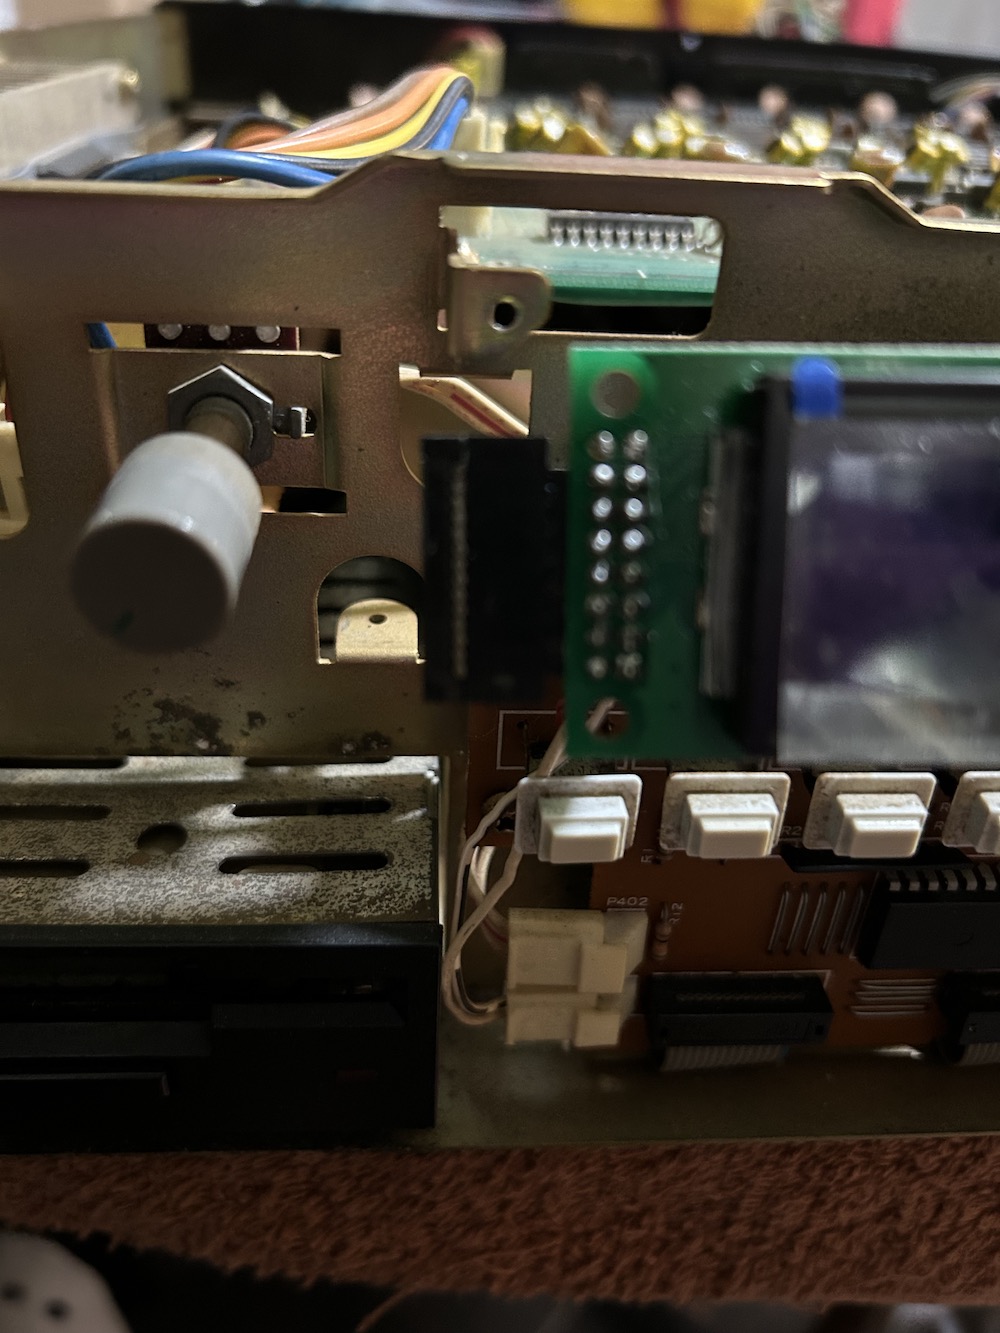
3) Cut the wires going from connector P401 to the old backlight (see pic). You will need to solder this two wires back, so make sure you keep all the length of the wires. You can also disconnect the Inverter (you don't need it anymore and it's probably just noisy) and if you want to remove it, be prepared to unscrew A LOT of screws and disconnect cables (I left the inverter where it was, just disconnected it, too much hassle...).
4) The most difficult part, in my case, was to desolder the angled male header from the old LCD and solder it back on the new LCD. You can avoid it if you bought a LCD with the angled header already soldered, of if you have some angled male header to solder on it. I recommend getting a 90 degrees male header to avoid the desolder/resolder part, which was quite tedious
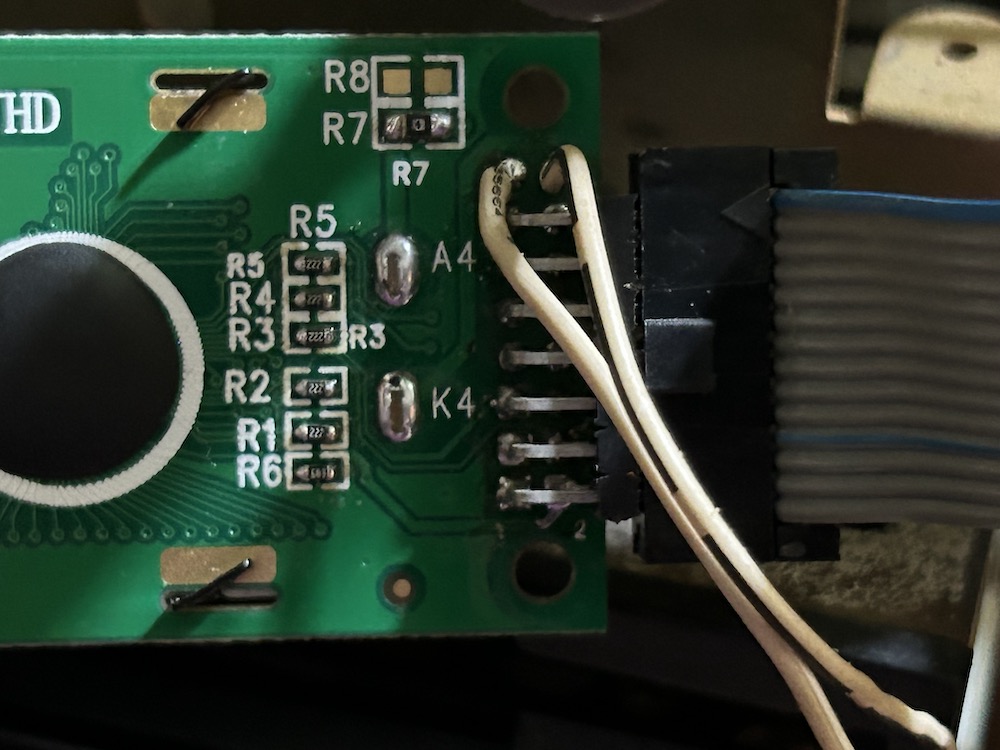
You need to leave pin 15 and 16 free for the leads coming from P401 (GND and 5V).
Solder the wires from P401 as shown in the following picture, just keep in mind that pins 15 and 16 are on top of the connector; white wire must be soldered to pin 15, and the black/white to pin 16, as shown here.
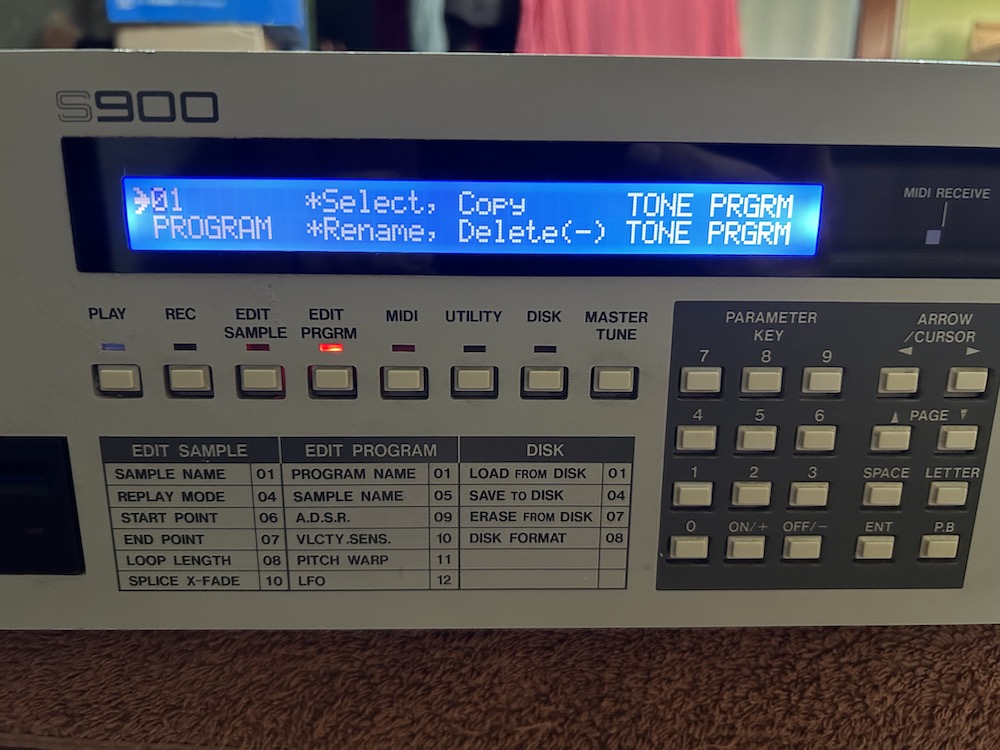
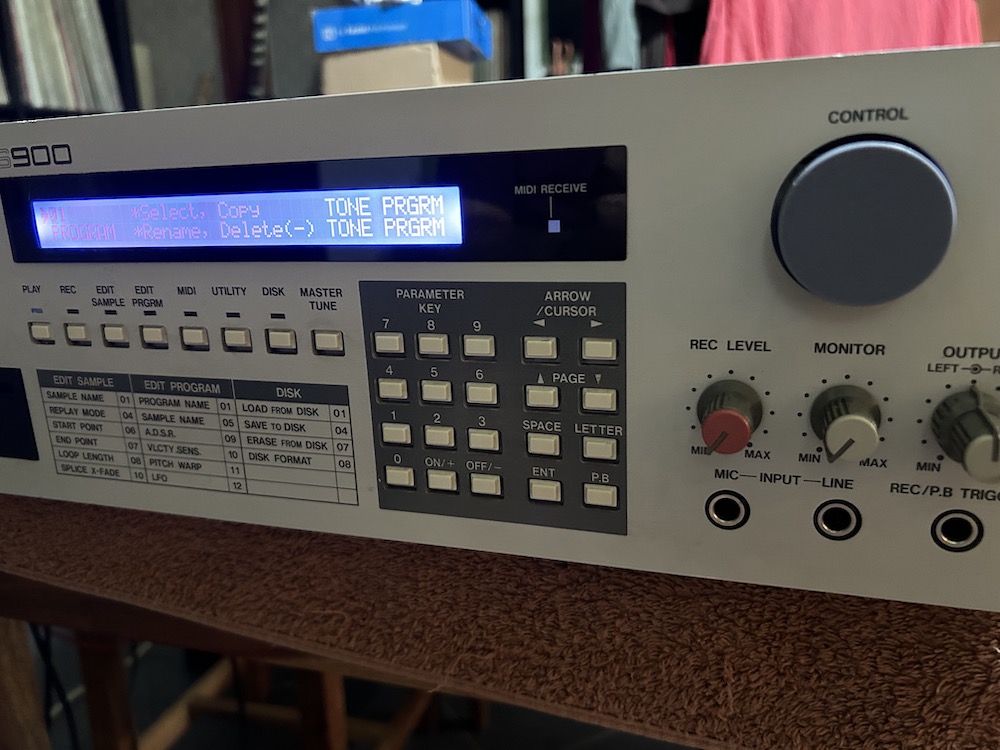
5) Screw the new LCD to the screen holder. In my case the new LCD fitted nicely, I've read that sometimes the bezel is too tall to fit. In that case use small screws and bolts to screw the new LCD from the BACK of the screen holder. Just double check you contacts one more time and try to power the S900 on!
If everything is OK, the only thing to do is to put the front panel on and close the sampler with its big metal plate.